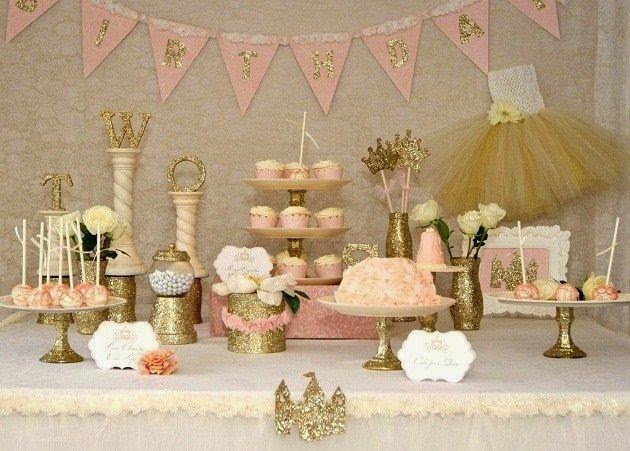
Photobooths have become a must-have at every party, even weddings! Some may choose to hire an external photo booth vendor where they'll provide backdrop, props and even instant print-outs for you and your guests. But with some DIY photo booth backdrop tips, you might just wanna consider saving those money and let those creative cells in you go wild.
OMBRE TISSUE PAPER PHOTOBOOTH
This has got to be my favourite backdrop! It's basically made up of a whole ton of tissue papers. And nope, not the usual tissue papers you'd find at home. This is a special kind of tissue paper meant for arts and crafts purposes! You could visit Artfriend, Spotlight or any party shops to purchase these.
What you'll need
- Tissue Paper in Varying Shades
- Scissors
- Chicken Wire
- Wire Cutters
- Zip Ties
- Photobooth Backdrop Framework
Time Needed
3 Hours
Steps
1) Cut your tissue papers into large squares of at least 9" x 9"
2) Set up your photobooth backdrop, at least 8 feet tall x 7 feet wide
3) Cut your chicken wire to your desired size (Suggested: 7 feet x 5 feet)
4) Using the zip ties, attach the chicken wire to the backdrop frame
5) Decide on a colour arrangement (e.g. lighter shades to darker shades) and start stuffing your tissue papers into each hole of the chicken wire
Tip: Grab the tissue paper in the middle, pinch and twist it in the middle, then stuff it into the chicken wire. Fluff it up a little after that
Watch the video below to get a better idea of how it should be done!
STREAMERS
This is a really cheap and easy idea for a backdrop! This is for those who're looking for something simpler and less time consuming. The materials are readily available and can be found almost anywhere too.
What you'll need
- Crepe Paper / Ready-Cut Streamers (Colours of your choice!)
- Masking Tape
- Scissors
Time
45 minutes
Steps
1) Start by deciding on the dimension of your photobooth.
2) At the top of your backdrop, stretch a piece of masking tape sticky side out, and tape it to the wall with two smaller pieces at the ends (The long piece of tape needs to have the sticky side facing outward so that you can stick the crepe paper to it)
3) Attach pieces of crepe paper to the masking tape. Up to you to decide whether you want the strips of paper to touch the floor. Varying lengths would be nice!
4) Overlap the pieces slightly so that there won't be any ugly gaps in between. Continue attaching the papers till you've worked your way across the entire backdrop..
5) Roll a few pieces of masking tape so that they’re double-stick.
6) Stick a few across the top of the backdrop.
7) Cover the top edge with a long piece of crepe paper to hide the tapes.
8) Repeat Steps 2 - 7 for the bottom
8) Snip off the excess strips at the bottom
SCALLOPS
Another backdrop that is super cheap and easy to make!
What you'll need
- Coloured Papers
- Circle Template
- Scissors
- Blue Tack
Time
45 Mins
Steps
1) Cut out circles with a 5.5" diameter
2) Pinch out a little but of blue tack and stick behind each circle
3) Start sticking the circles on the wall (Side by side). Be sure to make each end of the circle touch one another
4) Add more layers of circles. Each layer below should overlap 1/3 of the layer above
5) Make sure that your rows are straight!
FRINGES
What you'll need
- Crepe Paper
- Scissors
- Masking Tape
Time
45 Mins
Steps
1) Cut your crepe paper into 5 feet long x 6 inches wide
2) Cut 1-inch-wide fringes along the crepe paper. Leave 2 inches intact.
3) Paste the first crepe paper on the of the bottom wall using masking tape. Start bottom up.
4) From bottom to up, start adding more layers of fringed crepe paper till you reach your desired height for the backdrop
WALL FLOWERS
The perfect backdrop for wedding showers!
What you'll need
- Tissue Papers
- Blue Tacks
- Scissors
Time
1 Hour
Steps
1) Cut your tissue paper into 20" x 10"
2) Fold the tissue paper in accordion style
3) Cut a round edge at the end of the paper
2) Unfold the tissue. At the square end, gather the tissue by crumpling it slightly
3) Fold a piece of masking tape around itself so that it’s double-sided, and place it on one end of the crumpled tissue paper
4) Stick the opposite end to the other side of the masking tape so that the paper forms a flower shape.
Credits: https://lovelyindeed.com/


